|
|
|
Project: Grönö Lamp Hack
|
|
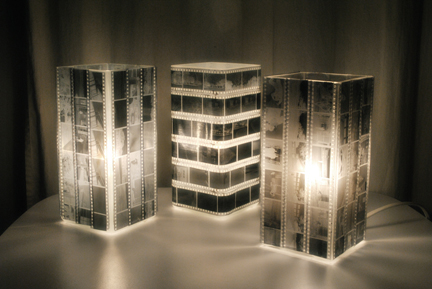
Ikea- the very name can either make someone grimace or groan with pleasure. Me? I couldn't do without it. Cheap? Yes. Cheaply made? Probably, yes. I know it's not heirloom quality stuff, but to me that means that I can mess around with Ikea products to customize them (aka "Ikea hack") without feeling worried about the cost of my "experiment". The Grönö lamp is an Ikea staple, it's inexpensive ($6.99!), made of frosted glass (not plastic) and BEGS to be messed with. A blank canvas, if you will, and I decided to make a nice light fixture for my photo classroom (now gone totally digital) by covering it with black and white negatives- a respectful nod to the past.
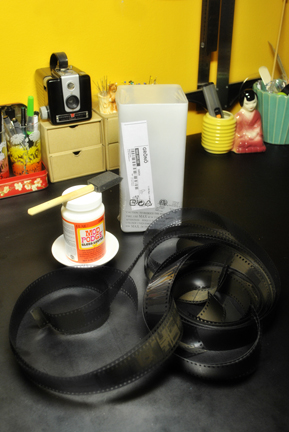
What you'll need:
- Ikea's Grönö lamp
- Negatives or other transparancies
- Mod Podge
- Foam brush
- Scissors
- OPTIONAL: rubber bands for holding the strips of negatives to the lamp
|
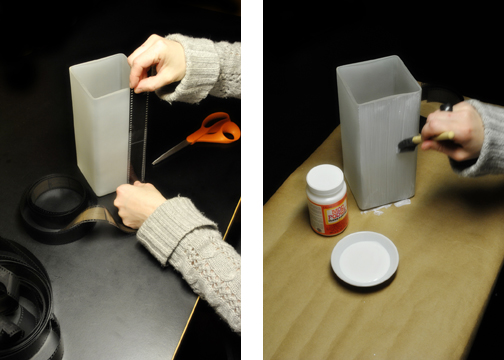
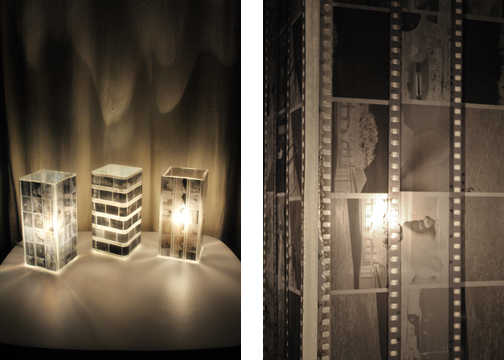
Step 1: I used black and white negatives, left over from the days when I used to teach darkroom photography, but you can use color negatives or any other transparency film (like x-rays!) I measured my film against the sides of the lamp to figure out how long the strips should be. I made some of my lamps with the negatives running vertically, and one other where they run horizontally. Obvious note: Don't attach the hardware to the lamp base until after you've finished covering the sides in negatives and letting the Mod Podge dry. Duh!
Step 2: Spread an even coat of Mod Podge (I used the glossy kind since the negatives are also glossy) on one side of the lamp.
|
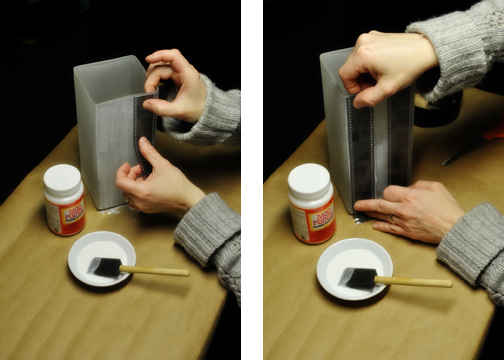
Step 3: Carefully press down the first strip of negatives on one edge of the lamp. Place the second strip on the opposite side. The third strip will go in the middle and slightly overlap the other strips.
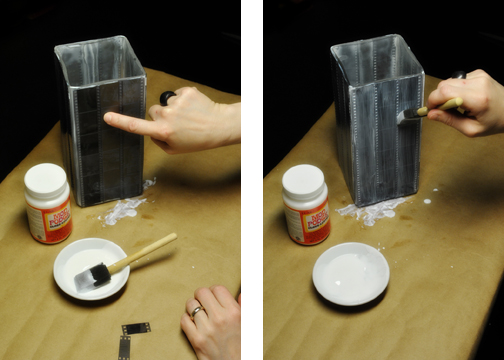
Step 4: When you have all three strips glued down, run your finger over the negatives to ensure a decent bond.
Step 5: After all four sides are covered, layer on a few more coatings of the Mod Podge (love that stuff). The Mod Podge should hold the negatives to the lamp pretty well until it dries, but if you find that the negatives keep popping up, add more Mod Podge and whip a rubber band around the lamp to hold them in place.
Step 6: Dry and attach the lamp hardware.
|
|
Poopscape is written by Claire Chauvin, a craft-obsessed mother and photography teacher living in Houston, Texas. If you have a question or a compliment, have tried one of my projects and want to share with me, or just want to chat, please email me at claireATpoopscape.com.
|